 |
 |
 |
 |
 |
Soil Moisture Profile Probes |
¶ Overview
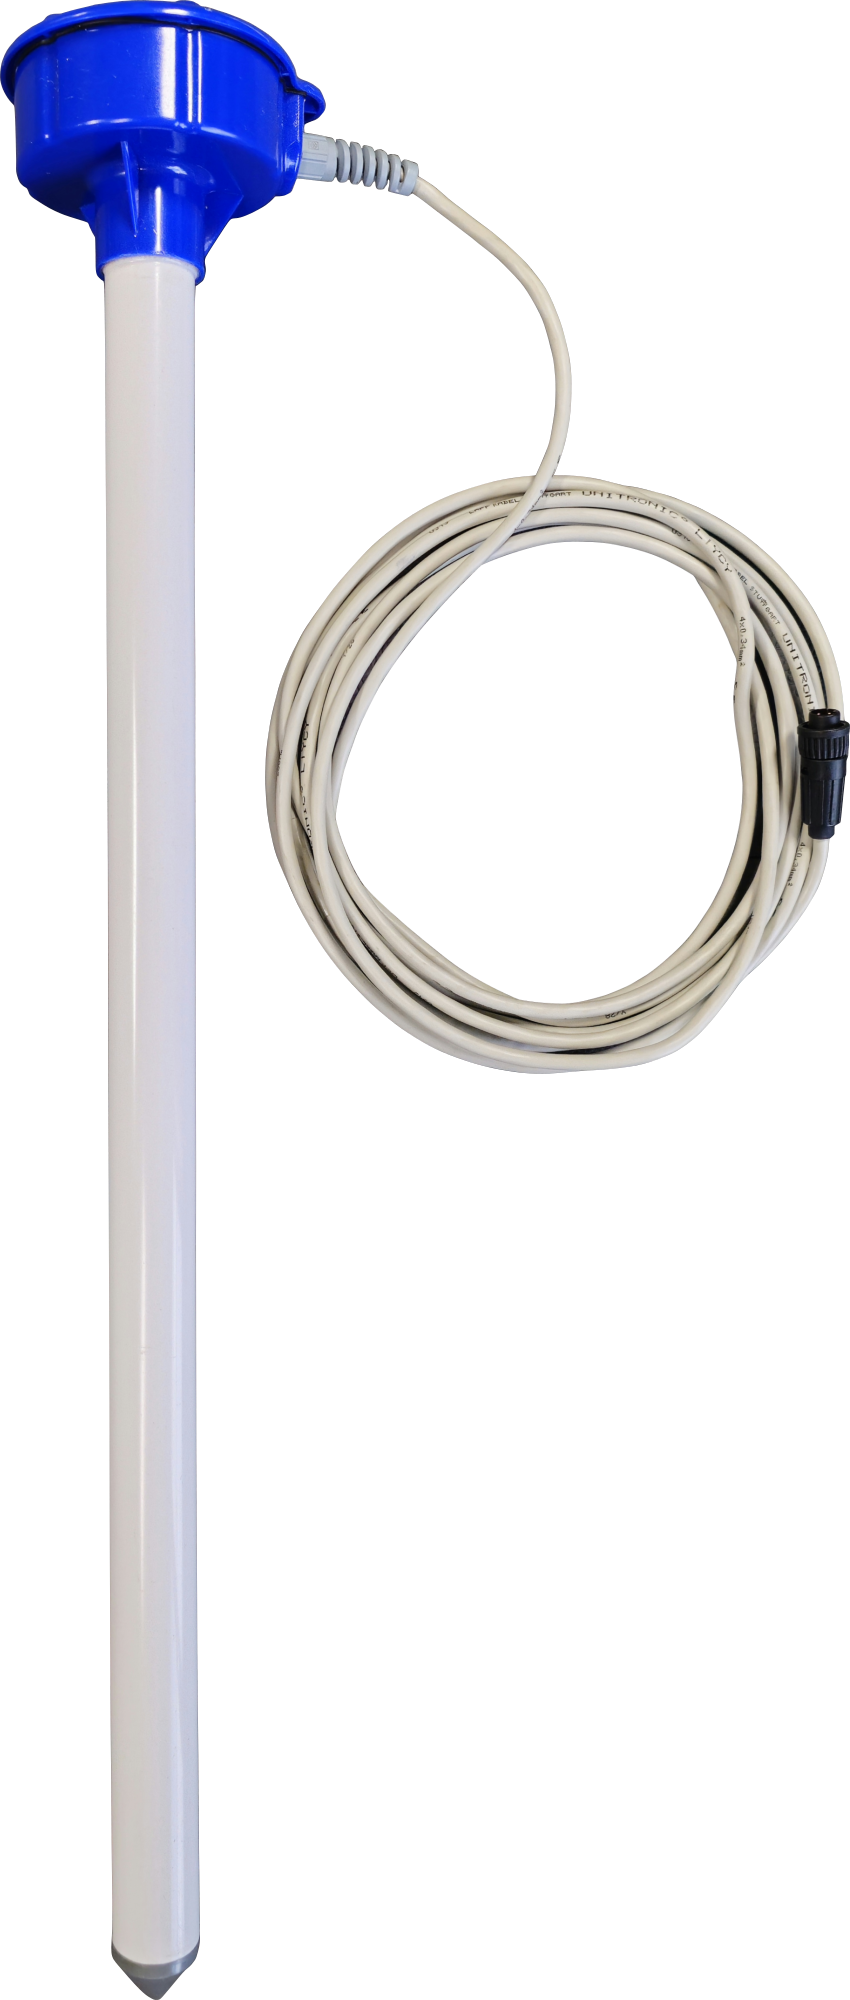
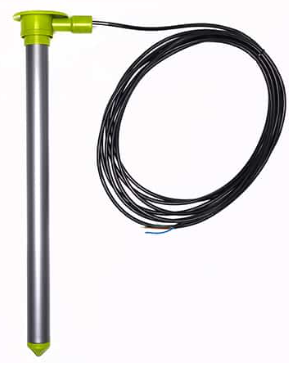
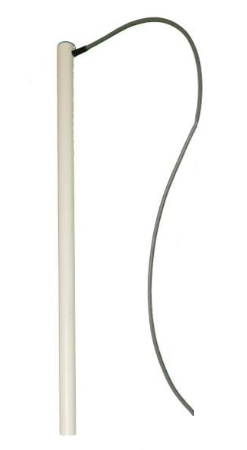
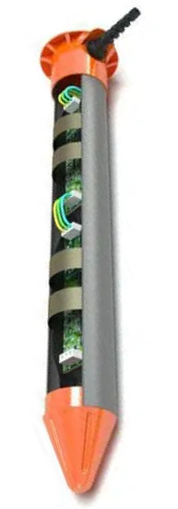
The Soil Moisture Profile Probes combined with an automated monitoring node (AMN) are able to accurately measure water content in the ground.
¶ Getting Started
¶ Installation
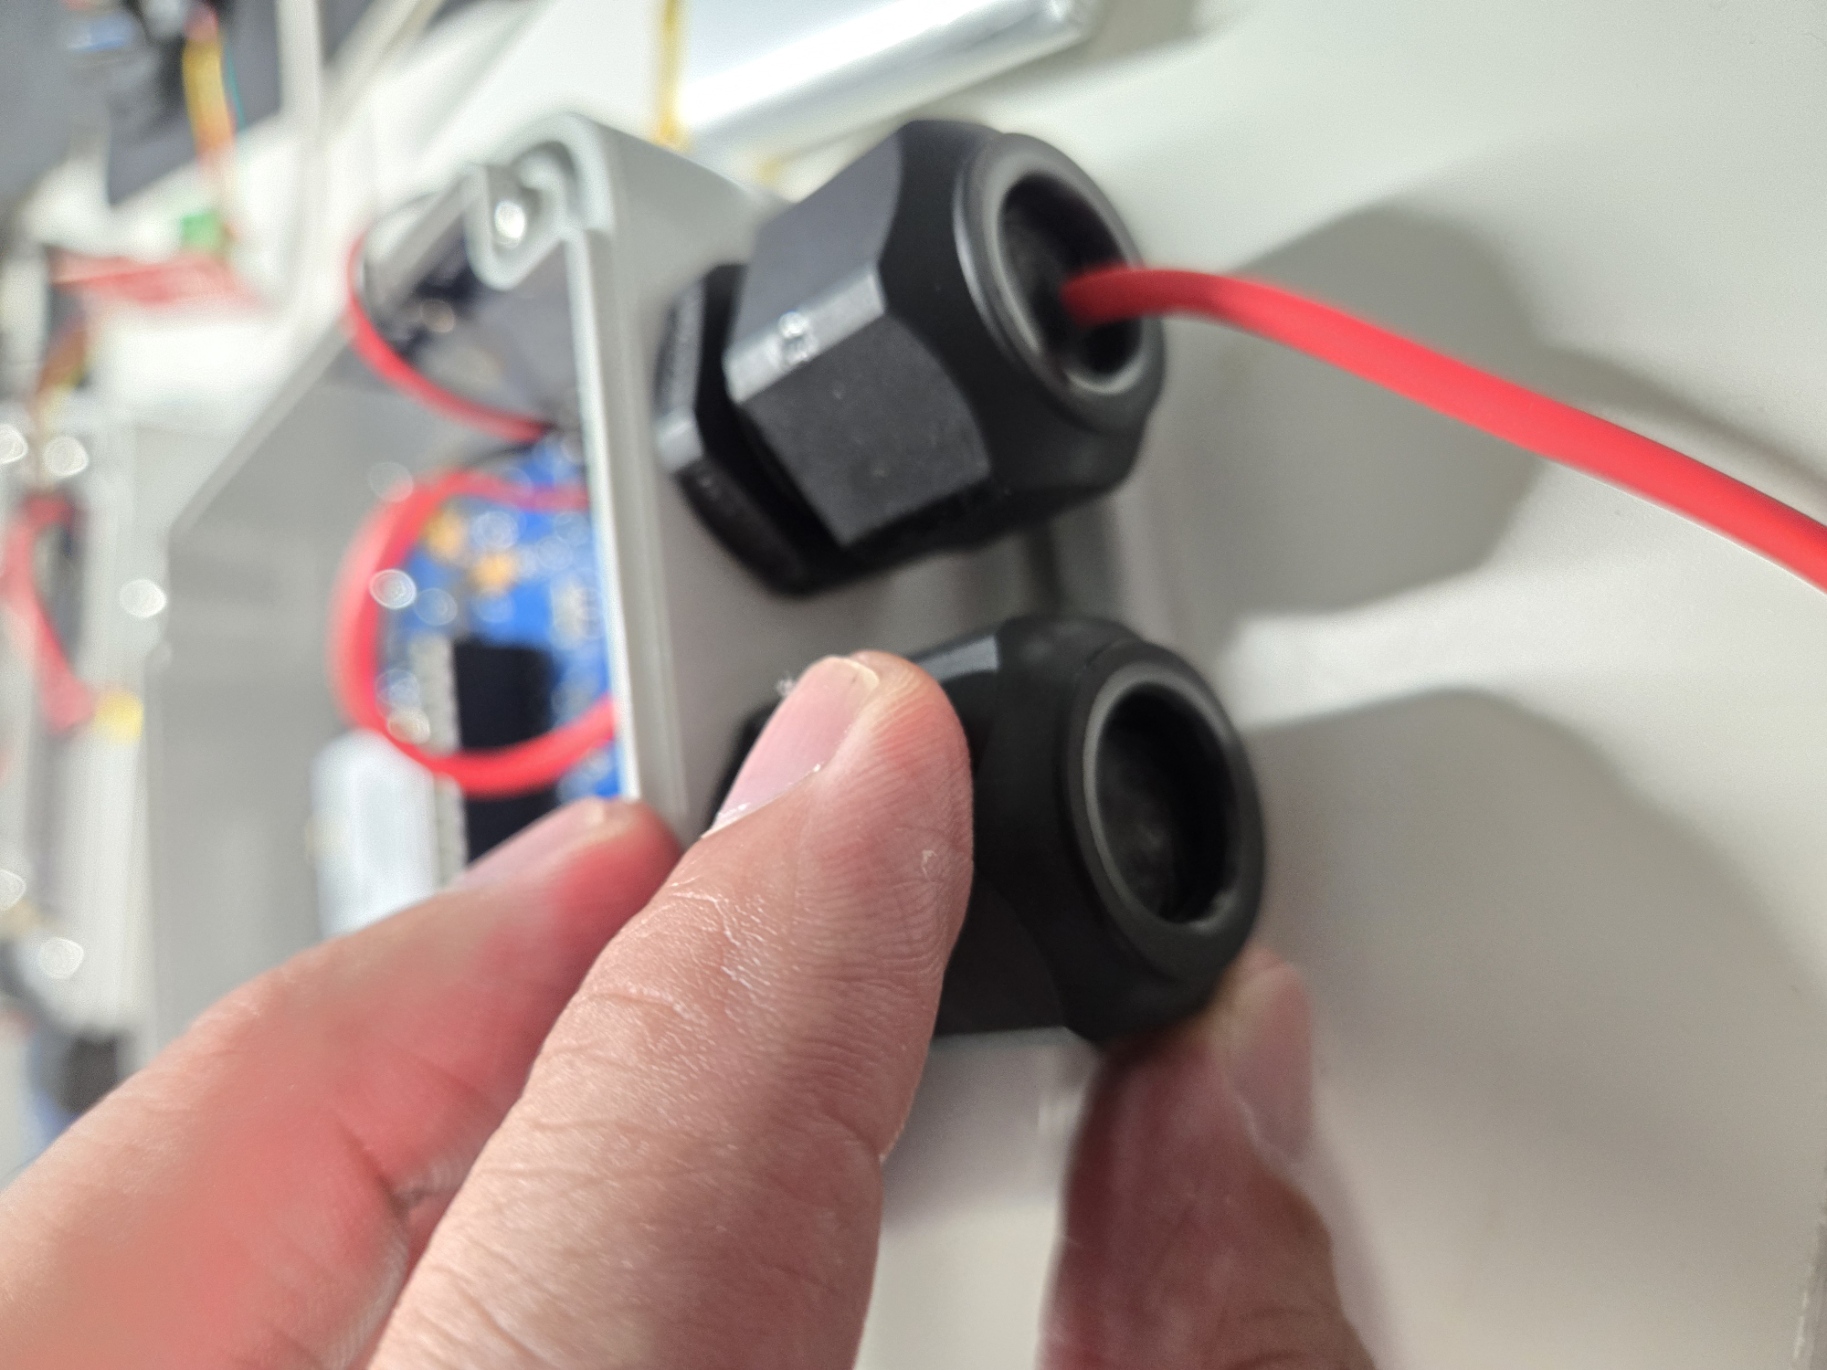


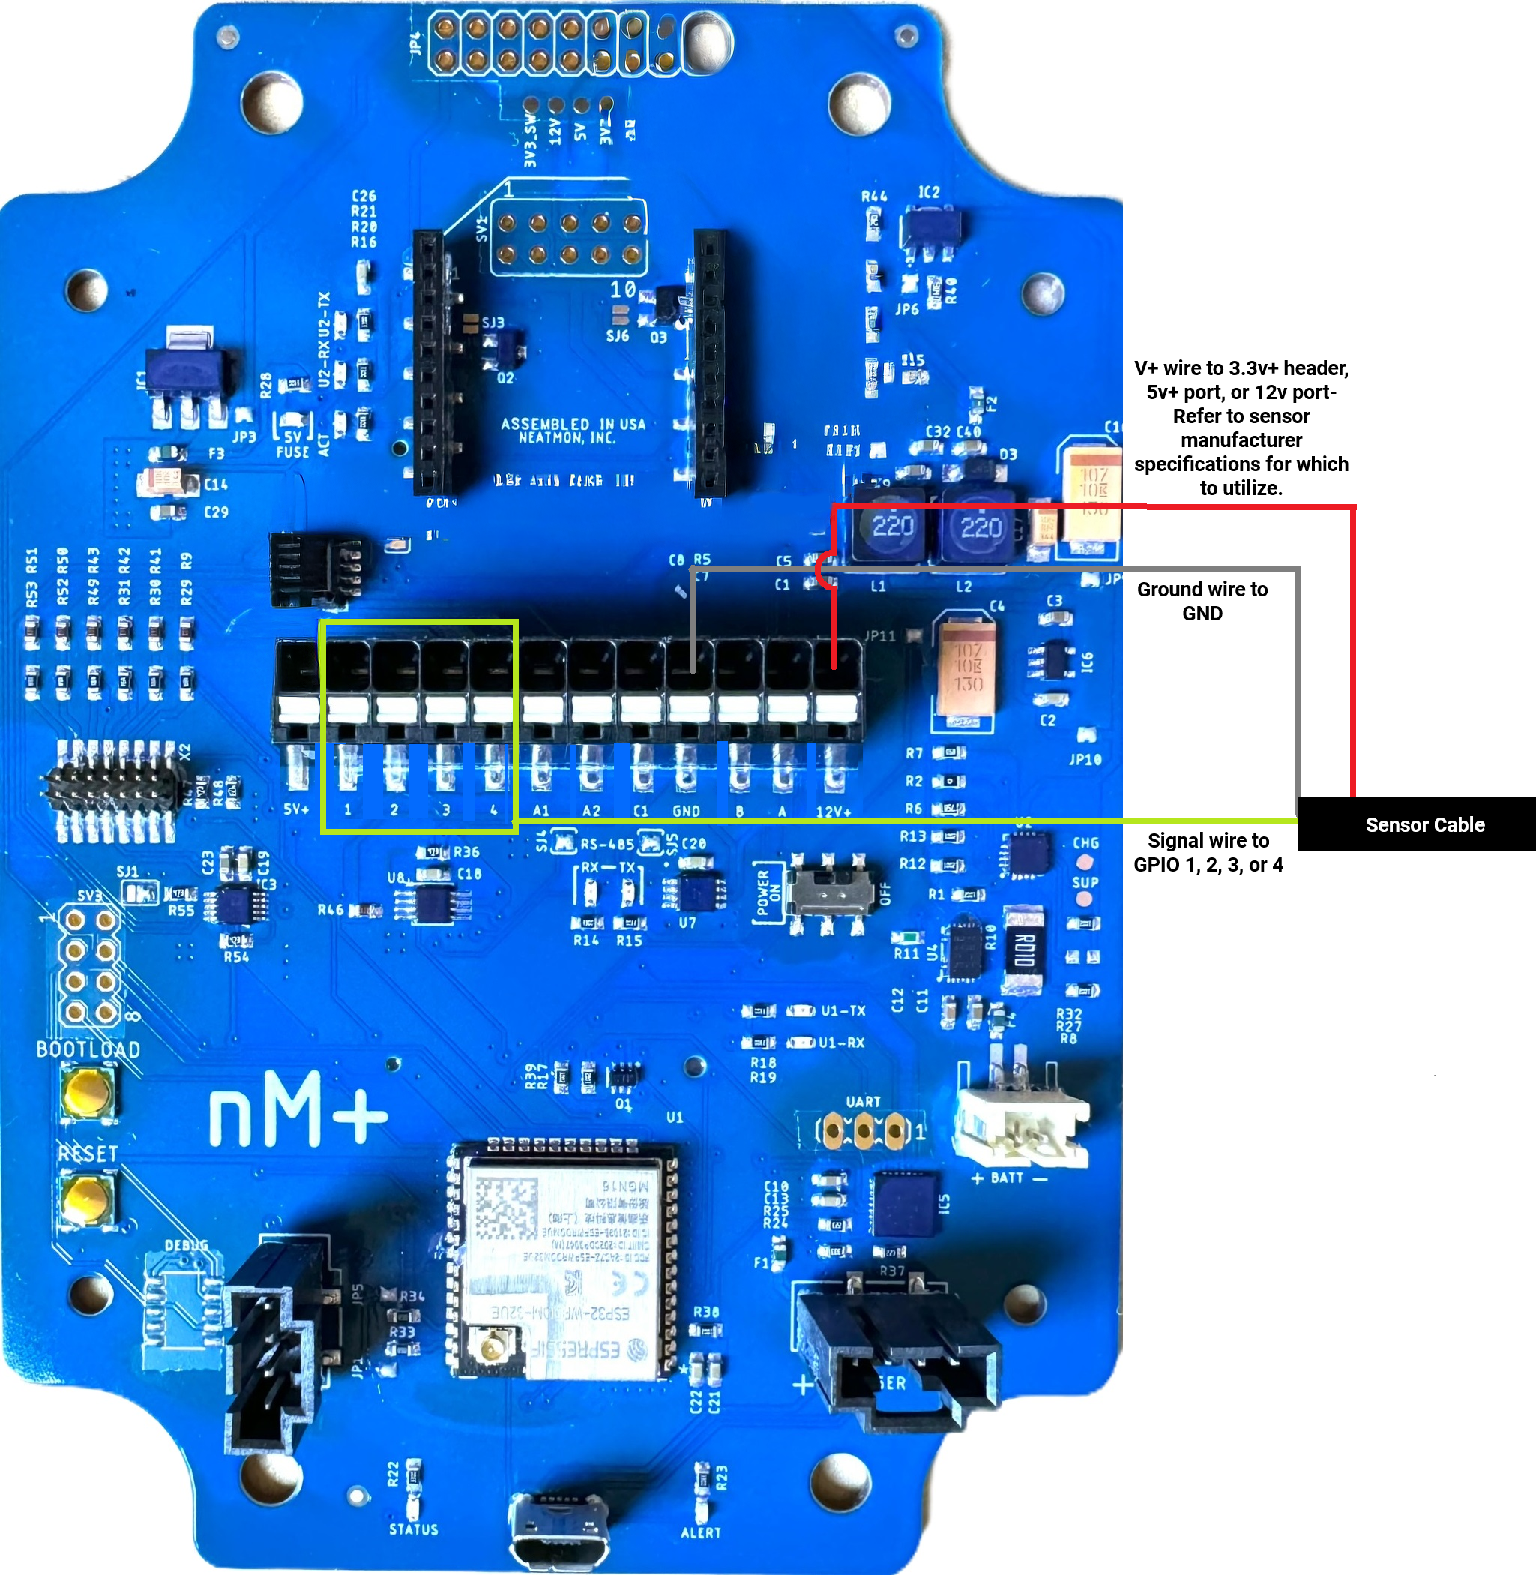
¶ Configuration
¶ Get prompt
First, you will need to open a serial terminal to the AMN and arrive at the NeatMon Main Menu. If you are unsure how to do this check the Opening Serial Terminal guide.
neatMon Main Menu
        1: Network config
        2: Sensor config
        3: Utilities
        x: < Save & Quit

>2Choose Sensor config by pressing 2.
¶ Select Sensor
Sensor Config
        1: Add sensor
        2: Enable Battery monitor
        3: List sensors
        4: Delete sensor
        5: Test read sensors
        x: <Back

>1Choose Add sensor by pressing 1.
Create sensor

Select type:
        1: nM TPRH sensor
        2: nM NCTP sensor
        3: nM GPIO analog (4v max)
        4: nM digital counter
        5: nM air quality monitor
        6: Generic SDI-12 Sensor
        7: Sentek RS485 SM
        8: LeafMon sensor
        9: Next page....

        x: <Back

>6Choose Generic SDI-12 Sensor (M) by pressing 6.
¶ Configure Sensor
Enter sample rate (mins): 15You can now define how often the sensor will read. If you are unsure, the default is 15 and should rarely be changed. Type your desired sample rate and then press enter.
Enter integer address (0-9):
>0The AMN wants to know what number to assign to this sensor. If this is the fist or only soil moisture probe you have set up type 0 and press enter. If other sensors are added later assign them a new number going in sequential order.
Enter GPIO port (1-4):
>1Type the GPIO port number that the sensor signal wire will be connected to and press enter (default is 1, any of the 4 GPIO ports can be utilized see diagram above, wiring must match configuration).
Select setup type:
  1. Auto detect (aMx!) - recommended
  2. Manual advanced setup (aMx!)
  3. Extended command (aXR3!)
>1Select setup type. “Auto detect” is recommended. Auto detect will send M! through M8! commands and report back data from any commands that are valid. To utilize Manual advanced setup to only spend specific commands, or Extended commands to send other command types, please contact neatMon support for additional assistance.
Disable strict response checking? (Y/n)>
>n“n” is recommended. Some sensors (such as Meter Group) do not consistently return results. For these sensors, enter “Y” to disable strict response checking. Please contact neatMon support if you are unsure.
¶ Save Sensor
Created sm1-0

Sensor Config
        1: Add sensor
        2: Enable Battery monitor
        3: List sensors
        4: Delete sensor
        5: Test read sensors
        x: <Back

>xChoose <Back by pressing x.
Exiting...

neatMon Main Menu
        1: Network config
        2: Sensor config
        3: Utilities
        x: < Save & Quit

>xChoose < Save & Quit by pressing x.
¶ Sample Sensor
¶ Get Prompt
First, you will need to open a serial terminal to the AMN and arrive at the NeatMon Main Menu. If you're unsure how to do this check the Opening Serial Terminal guide.

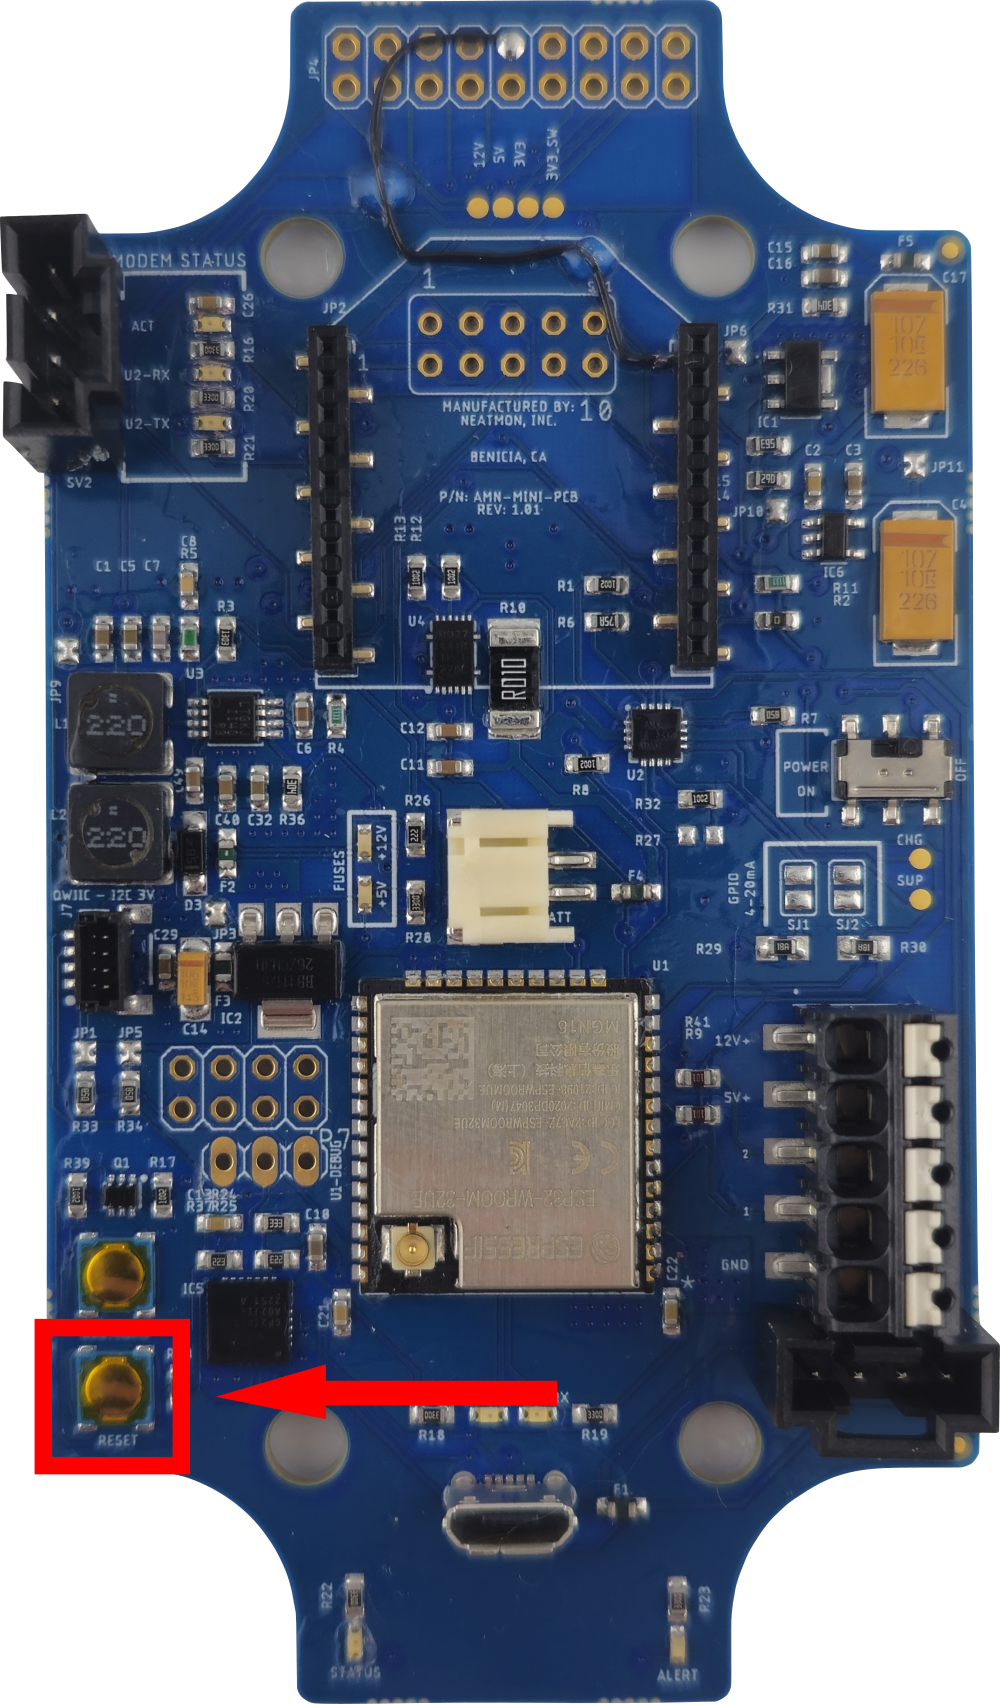
If you just chose Save & Quit in the last step press the reset button on the AMN to be able to grab the prompt again.
¶ Selecting the Sensor
neatMon Main Menu
        1: Network config
        2: Sensor config
        3: Utilities
        x: < Save & Quit

>2Choose Sensor config by pressing 2.
Sensor Config
        1: Add sensor
        2: Enable Battery monitor
        3: List sensors
        4: Delete sensor
        5: Test read sensors
        x: <Back

>5Choose Test read sensors by pressing 5.
ID      |       Sensor name
---------------------------------
0       |       Battery monitor
---------------------------------
1       |       sm1-0
        Type: sm [4]
        Sample rate (mins): 15
        Interface: SDI12
        Port: 1
        Misc:

                Query: Auto Read
                SDI-12 Address: 0
                Strict Response Check: Enabled
Enter ID of sensor to read (x to cancel): 1Choose the soil moisture probe you want to test by typing the number next to it and pressing enter. The sm stands for soil moisture, in the console pictured above sm is at index location 1 so in case you would press 1 and hit enter.
¶ Reading the Sensor
Enter index of sensor to read (x to cancel): 1

Power: 3V3_SW power enabled
Power: 12V/5V power enabled

SDI-12: Sending 0M! Received 00036
SDI-12: Measurement response:00036
SDI-12: Sensor 0, will be ready in 3 seconds with 6 measurements!
SDI-12: Sending 0D0! Received 0+051.3656+057.9406+063.7093
SDI-12: Read D0 from sensor, Attempt: 0, String output:0+051.3656+057.9406+063.7093
[1:10] - 51.37
[10:19] - 57.94
[19:-1] - 63.71
SDI-12: Sending 0D1! Received 0+059.5593+036.6468+037.4250
SDI-12: Read D1 from sensor, Attempt: 0, String output:0+059.5593+036.6468+037.4250
[1:10] - 59.56
[10:19] - 36.65
[19:-1] - 37.42
Data: [51.37, 57.94, 63.71, 59.56, 36.65, 37.42]
SDI-12: Sending 0M1! Received 00006
SDI-12: Measurement response:00006
[SDI-12: Sensor 0, will be ready in 0 seconds with 6 measurements!
SDI-12: Sending 0D0! Received 0+25.750+29.000+29.062
SDI-12: Read D0 from sensor, Attempt: 0, String output:0+25.750+29.000+29.062
[1:8] - 25.75
[8:15] - 29.00
[15:-1] - 29.06
SDI-12: Sending 0D1! Received 0+28.187+27.187+26.375
SDI-12: Read D1 from sensor, Attempt: 0, String output:0+28.187+27.187+26.375
[1:8] - 28.19
[8:15] - 27.19
[15:-1] - 26.38
[25.75, 29.00, 29.06, 28.19, 27.19, 26.38]
SDI-12: Sending 0M2! Received 00000
SDI-12: Measurement response:00000
SDI-12 (aM2!): 0 records returned
SDI-12: Sending 0M3! Received 00000
SDI-12: Measurement response:00000
SDI-12 (aM3!): 0 records returned
SDI-12: Sending 0M4! Received 00000
SDI-12: Measurement response:00000
SDI-12 (aM4!): 0 records returned
SDI-12: Sending 0M5! Received 00000
SDI-12: Measurement response:00000
SDI-12 (aM5!): 0 records returned
SDI-12: Sending 0M6! Received 00000
SDI-12: Measurement response:00000
SDI-12 (aM6!): 0 records returned
SDI-12: Sending 0M7! Received 00000
SDI-12: Measurement response:00000
SDI-12 (aM7!): 0 records returned
SDI-12: Sending 0M8! Received 00000
SDI-12: Measurement response:00000
SDI-12 (aM8!): 0 records returned

Read again? Y/n
>nIn the console window above we can see that it has successfully read the sensor. This example is an Aquacheck sensor with M! reporting the Soil Moisture Data, and M1! reporting the Soil Temperature.
Enter ID of sensor to read (x to cancel): 1

Power: 3V3_SW power enabled
Power: 12V/5V power enabled

SDI-12: Sending 0M! Received
SDI-12: Measurement response:
SDI-12: Sending 0M! Received
SDI-12: Measurement response:
SDI-12: Sending 0M! Received
SDI-12: Measurement response:
SDI-12 (aM!): 0 records returned
SDI-12: Sending 0M1! Received
SDI-12: Measurement response:
SDI-12: Sending 0M1! Received
SDI-12: Measurement response:
SDI-12: Sending 0M1! Received
SDI-12: Measurement response:
SDI-12 (aM1!): 0 records returned
SDI-12: Sending 0M2! Received
SDI-12: Measurement response:
SDI-12: Sending 0M2! Received
SDI-12: Measurement response:
SDI-12: Sending 0M2! Received
SDI-12: Measurement response:
SDI-12 (aM2!): 0 records returned
SDI-12: Sending 0M3! Received
SDI-12: Measurement response:
SDI-12: Sending 0M3! Received
SDI-12: Measurement response:
SDI-12: Sending 0M3! Received
SDI-12: Measurement response:
SDI-12 (aM3!): 0 records returned
SDI-12: Sending 0M4! Received
SDI-12: Measurement response:
SDI-12: Sending 0M4! Received
SDI-12: Measurement response:
SDI-12: Sending 0M4! Received
SDI-12: Measurement response:
SDI-12 (aM4!): 0 records returned
SDI-12: Sending 0M5! Received
SDI-12: Measurement response:
SDI-12: Sending 0M5! Received
SDI-12: Measurement response:
SDI-12: Sending 0M5! Received
SDI-12: Measurement response:
SDI-12 (aM5!): 0 records returned
SDI-12: Sending 0M6! Received
SDI-12: Measurement response:
SDI-12: Sending 0M6! Received
SDI-12: Measurement response:
SDI-12: Sending 0M6! Received
SDI-12: Measurement response:
SDI-12 (aM6!): 0 records returned
SDI-12: Sending 0M7! Received
SDI-12: Measurement response:
SDI-12: Sending 0M7! Received
SDI-12: Measurement response:
SDI-12: Sending 0M7! Received
SDI-12: Measurement response:
SDI-12 (aM7!): 0 records returned
SDI-12: Sending 0M8! Received
SDI-12: Measurement response:
SDI-12: Sending 0M8! Received
SDI-12: Measurement response:
SDI-12: Sending 0M8! Received
SDI-12: Measurement response:
SDI-12 (aM8!): 0 records returned
Read again? Y/n
This is what it looks like if a sensor is not reading properly. In this case, no sensor was attached and therefore no responses were received.