¶ Overview
The AMN firmware makes setting up a node using the menu-driven setup dialogue straightforward and easy.
Any sensor can be configured, and tested from the menu as well, making it a simplified way to perform diagnostics. Additionally, communication can be tested, and debugging can be performed while the node is running allowing for specific diagnostics of any issue as they arise. If you are experiencing an issue with a node, please contact support.
The goal of this guide is to provide functional specifications for each part of the neatMon AMN firmware menu options
¶ Bootup Messages
When the AMN is turned on it checks the firmware stored and begins various checks including verifying the firmware is loaded, and the filesystem is ready to store data.
¶ Example startup
Below is an example of a normal startup
rst:0x1 (POWERON_RESET),boot:0x13 (SPI_FAST_FLASH_BOOT)
configsip: 0, SPIWP:0xee
clk_drv:0x00,q_drv:0x00,d_drv:0x00,cs0_drv:0x00,hd_drv:0x00,wp_drv:0x00
mode:DIO, clock div:2
load:0x3fff0030,len:1184
load:0x40078000,len:13132
load:0x40080400,len:3036
entry 0x400805e4
Memory: Reading 0 saved sensor configurations...


--------------------------------------

        Automated Monitoring Node
        by neatMon, Inc.

--------------------------------------

Device Info:
        GUID:           59c213bb-8426-4fe4-97ea-7f05a39d6481
        P/N:            AMN-PLUS
        HW:             1.03
        FW:             1.82


Network Settings:
        Server:         api.neatmon.io
        Path:           /api/device/59c213bb-8426-4fe4-97ea-7f05a39d6481
        Port:           1330
        APN network:    hologram
        APN username:
        APN password:
        Using nM API:   True
        Sync rate:      15m
        Modem debug:    disabled
        Modem GSM Only: disabled

General Settings:
        Battery monitor:enabled
        Demo mode:      false
        Num sensors:    0
        Sleep mode:     1
        Power mode:     0

Press 'C' to stop booting and configure...........¶ Menu
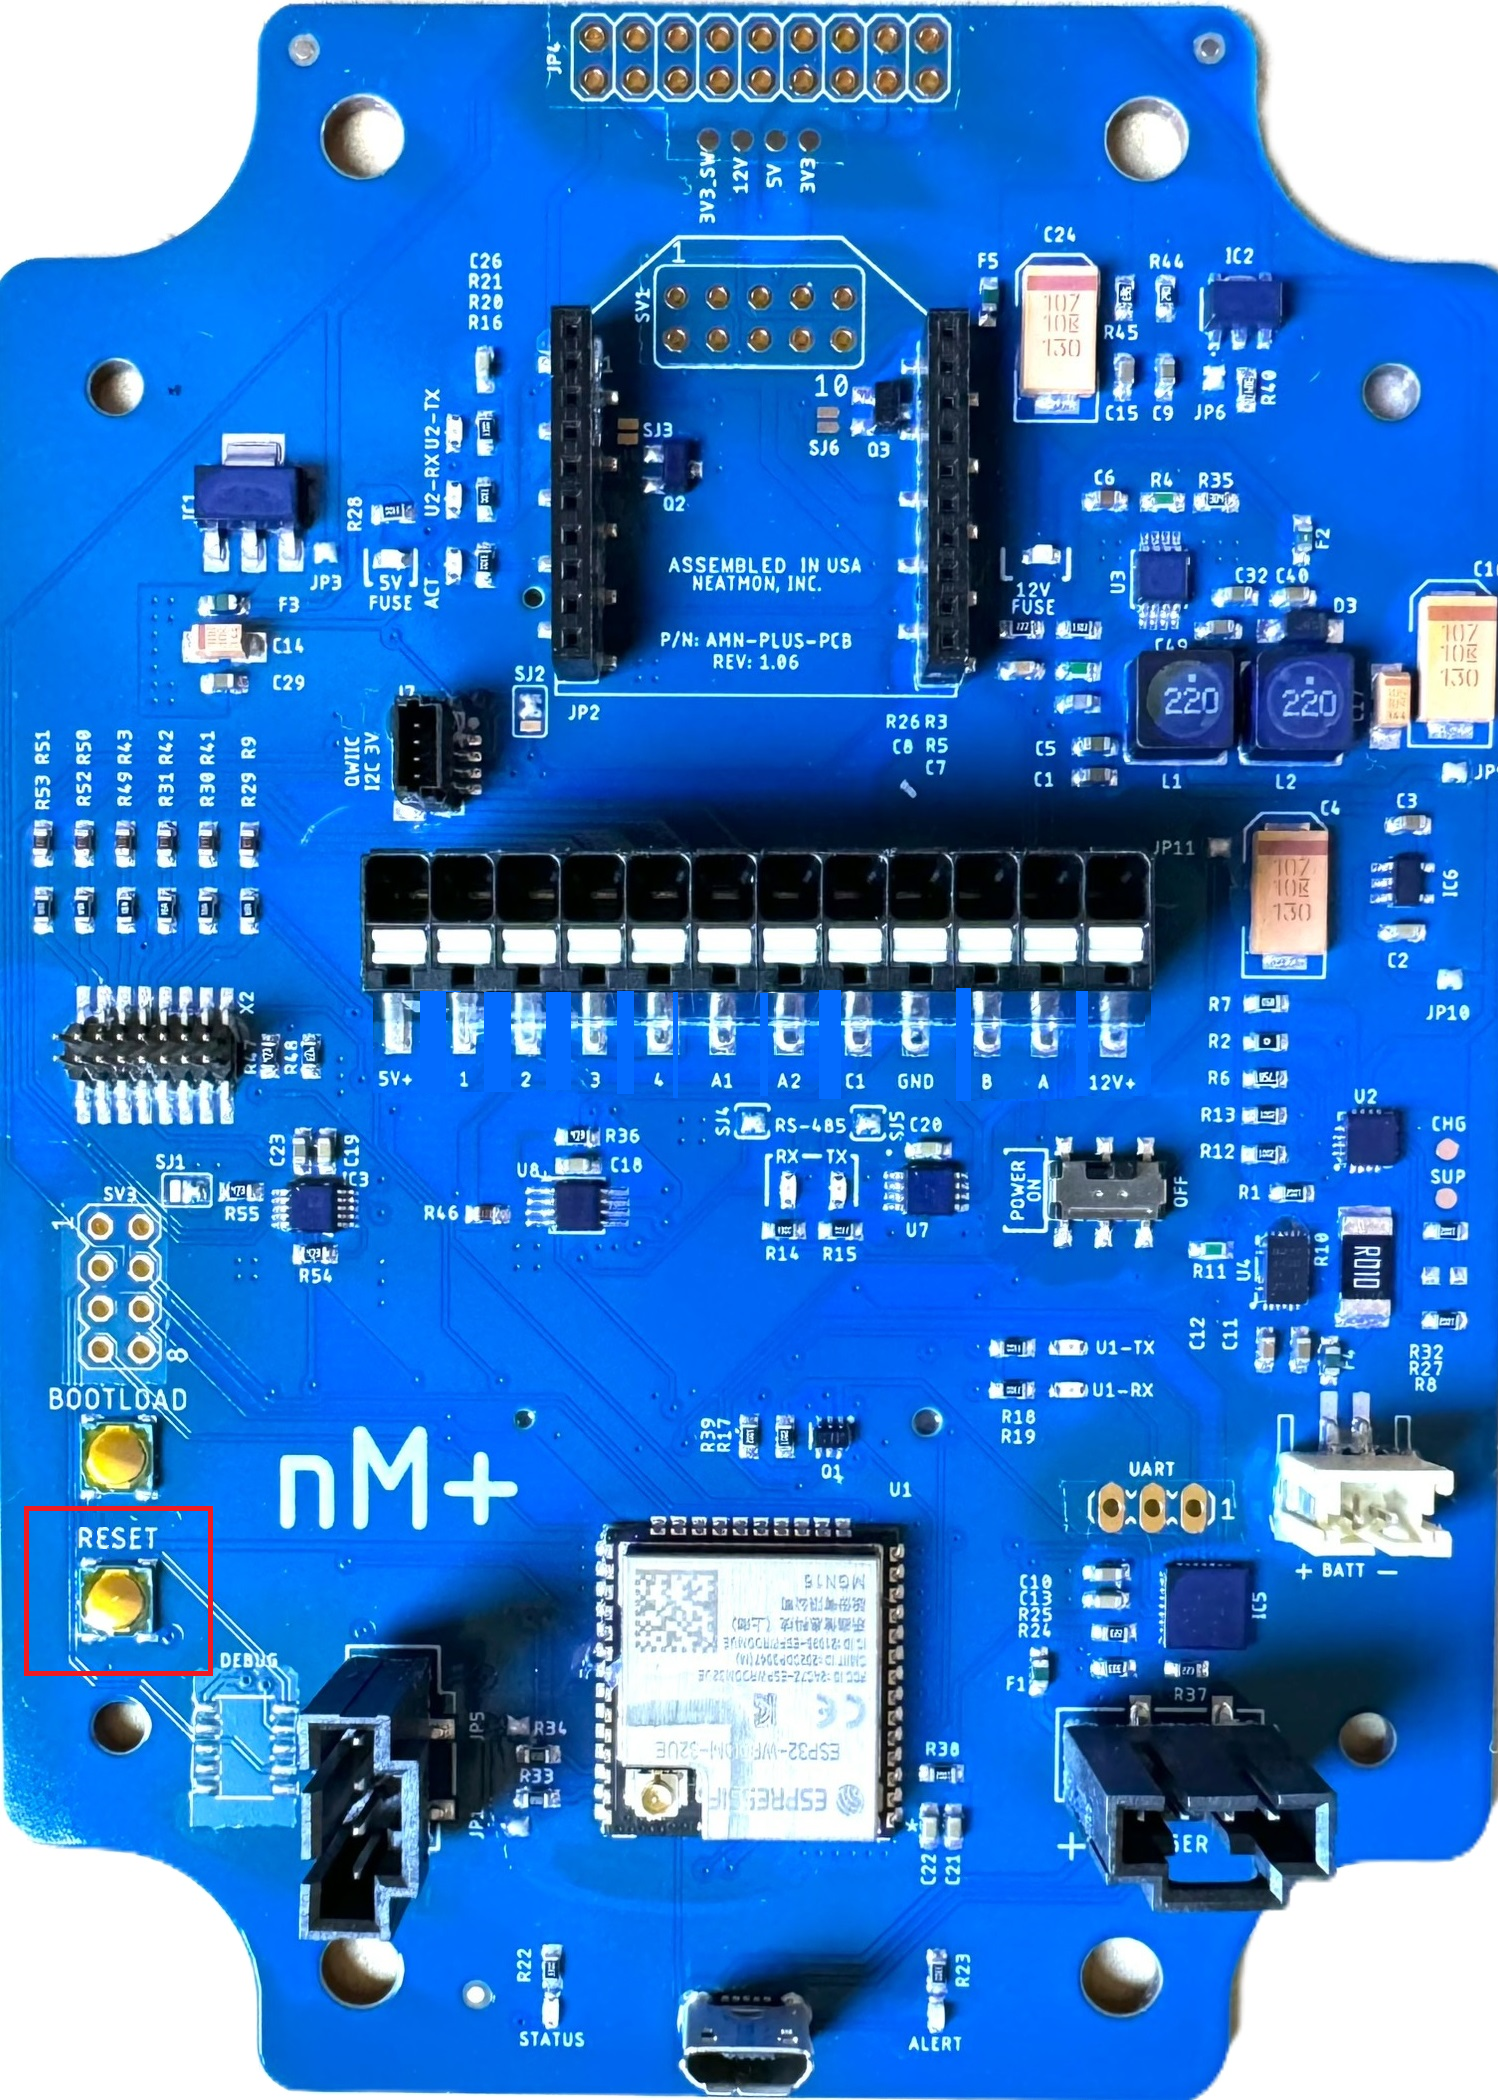
After the bootup messages, the user is prompted to Press ‘C’ to stop booting and enter the configuration menu. If you miss the “C” prompt you may press the “RESET” button on the node to reboot the node and try again:

The Main Menu is the entry point for the configuration menus.
¶ Saving configuration updates
NOTE: To save any updates to the configuration, the user must ‘Save & Quit’ using the ‘x’ escape key. After exiting it, the node will reboot and give the option to enter “C” again to re-enter the menu, or do nothing and allow the node to initialize into normal operating mode.
¶ Main Menu
Press 'C' to stop booting and configure...........

>C

neatMon Main Menu
        1: Network config
        2: Sensor config
        3: Utilities
        x: < Save & Quit

>¶ Network Menu
From the network menu, all settings for communication with the cloud API are defined. Additionally, testing can be performed to determine if there are any issues with the communication to the server.
¶ Sensor Menu
The sensor menu allows configuration and testing of attached sensors, as well as listing the sensor configuration details.
¶ Utilities Menu
The utility menu provides all other configuration options including resetting to factory defaults
NOTE: You MUST exit all menus, close the COM port by selecting File>Disconnect in Tera Term, or hit the reset button on the node to allow the node to initialize and run it's normal operations. If you leave the com port open while in the menu, and only disconnect the microUSB, the node will remain in the Menu and will not read sensors and communicate with the server.