¶ Control Page Guide
¶ Overview
This guide is to help navigate the Control Page. This includes what a relay is, the three kinds of relays you can make, how to add relays, edit relays, and hide relays if you aren't using them anymore.
¶ What are Events?
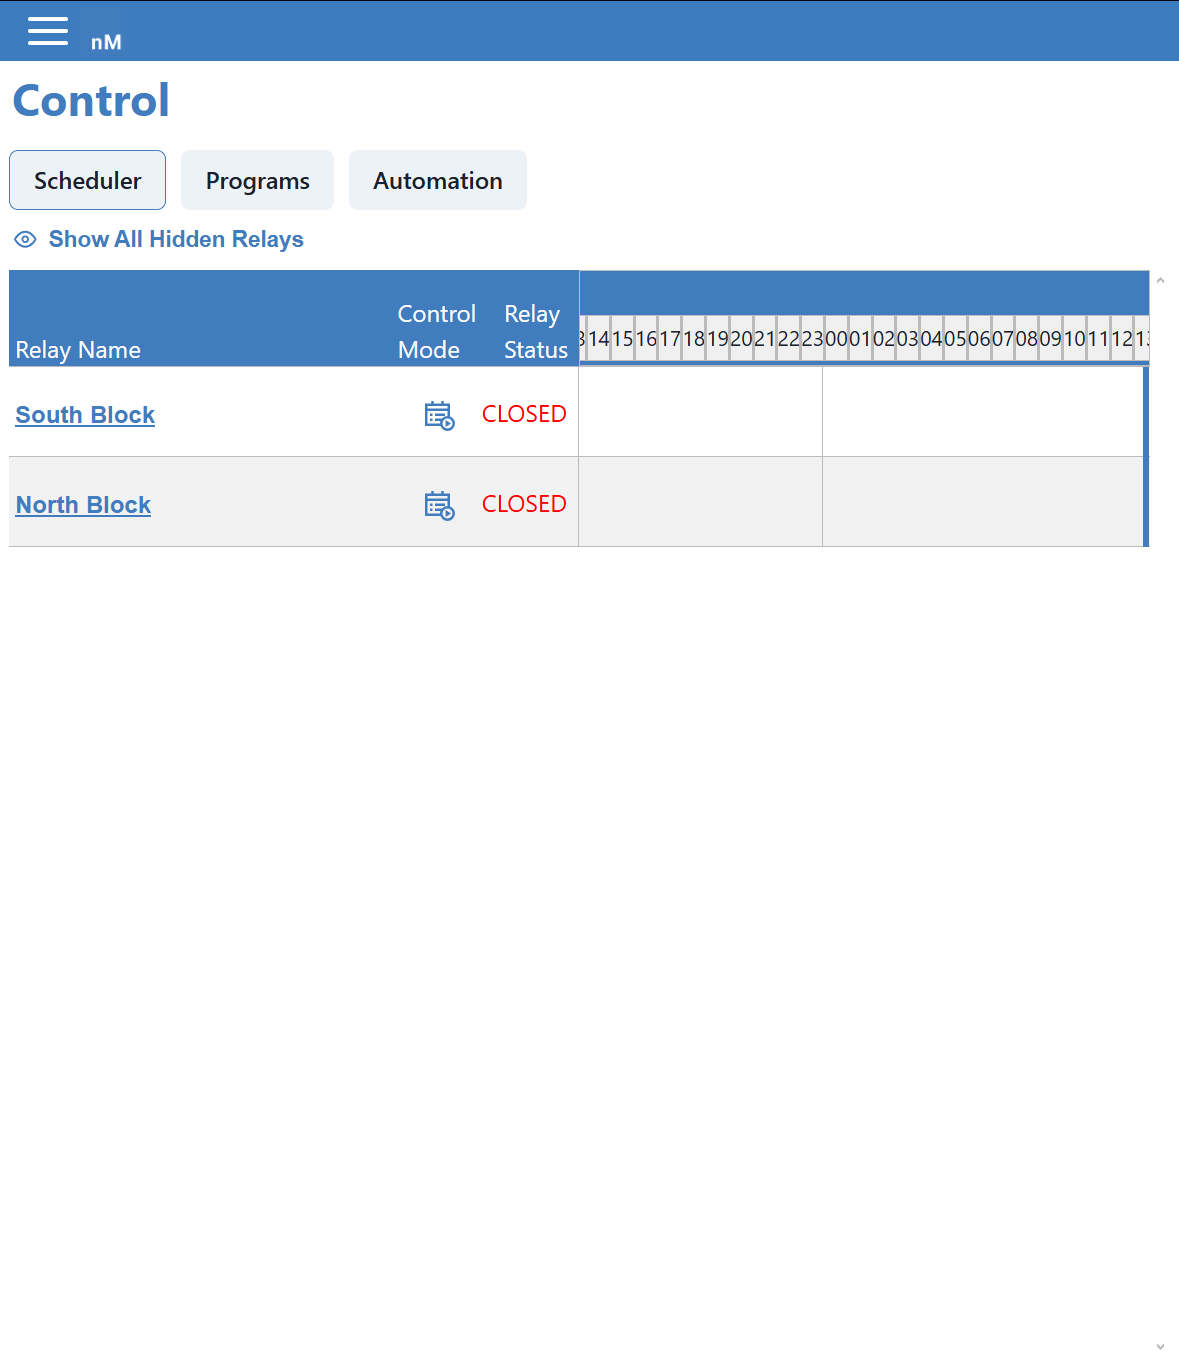
Events are used to tell a relay when to turn on or off. Relays are used to send signals to power on irrigation, sprinklers, pumps, or anything motorized that is connected to the relay.
To tell the relay when to open and close we use events. These can be scheduled or on the fly. Events will last for as long as you want and for the duration of the event a specific gate on the relay will open and provide power for the entire time.
¶ Two Types of Automation
There are two ways to schedule events for your relays, Programs and Automations.
| Programs | Programs are scheduled events that happen often. These events can be daily, weekly, monthly, on odd days, even days, etc. |
| Automations | Automations are real time reactions to sensor data. This can be when temperature falls below a certain value or when a tank is nearing empty. |
For more help setting up Programs and Automations go to our respective guides for each:
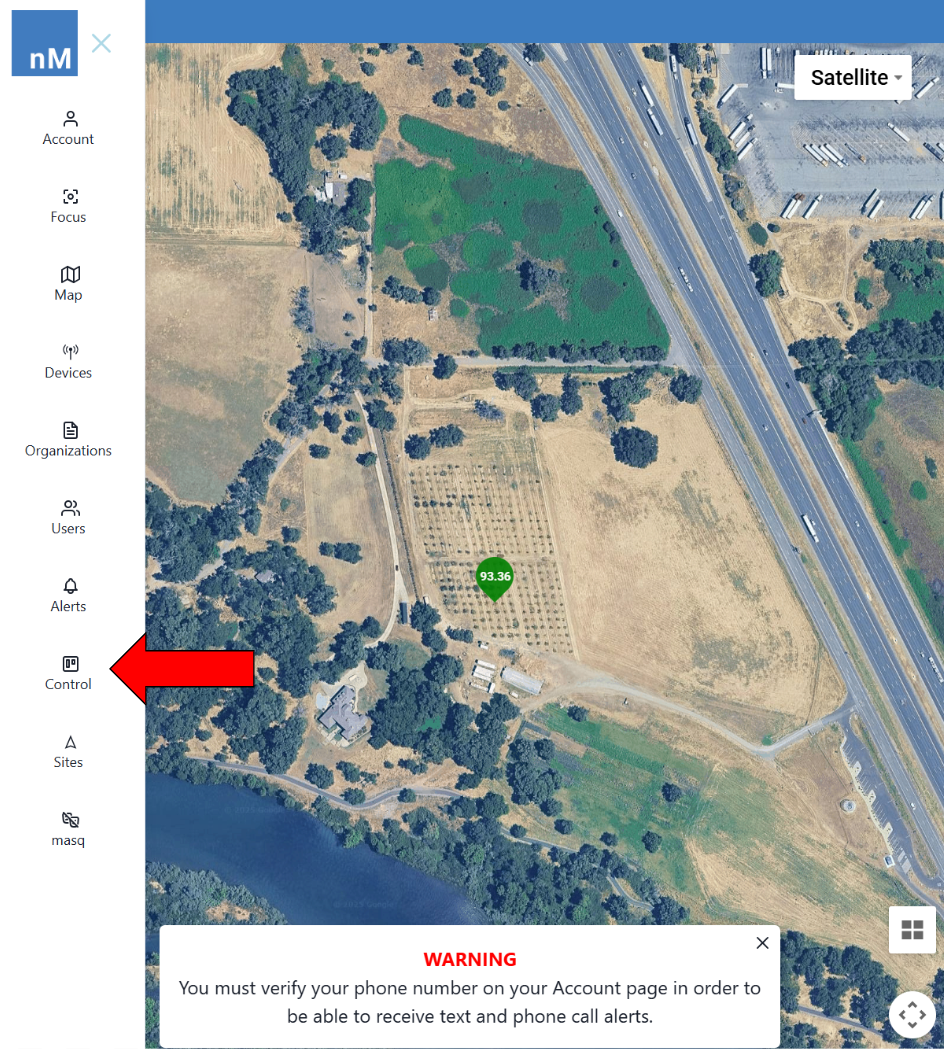
¶ Navigating to the Control Page
|
|
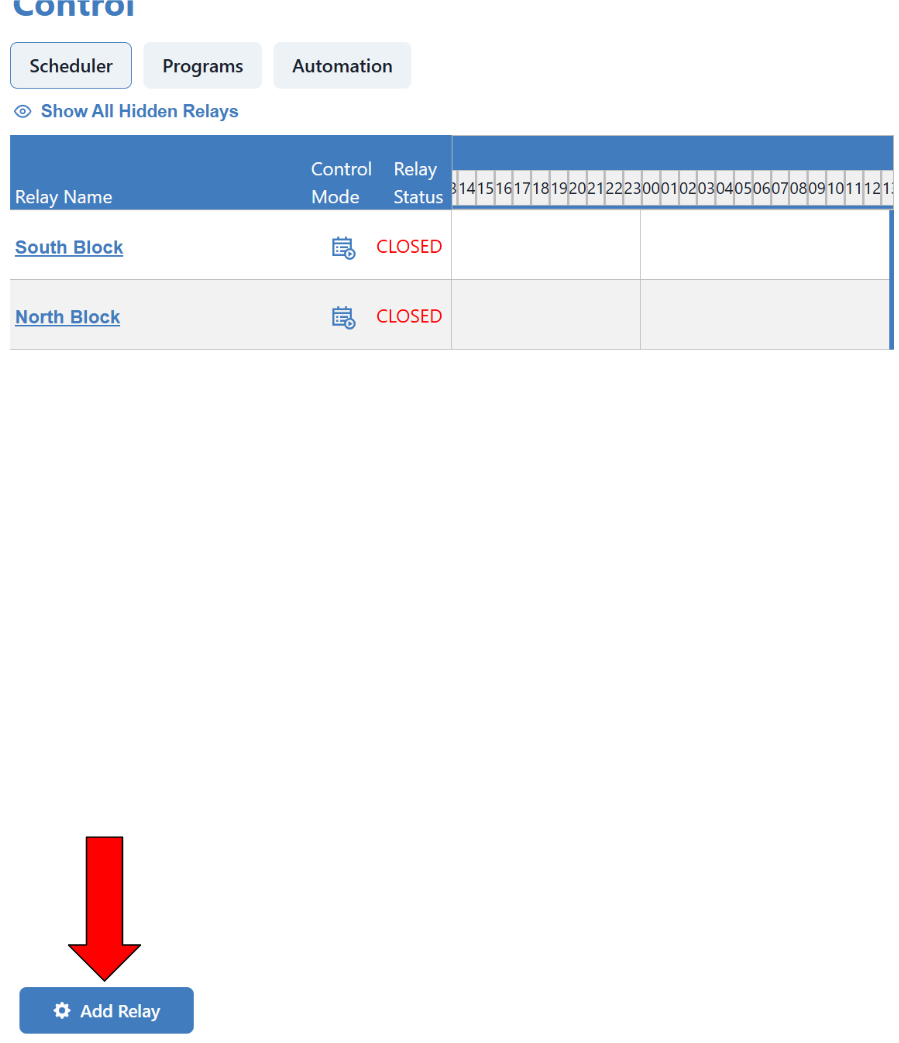
¶ Adding Relays
To add a relay, scroll down then click on the Add Relay button in the bottom left corner of the screen.
|

|
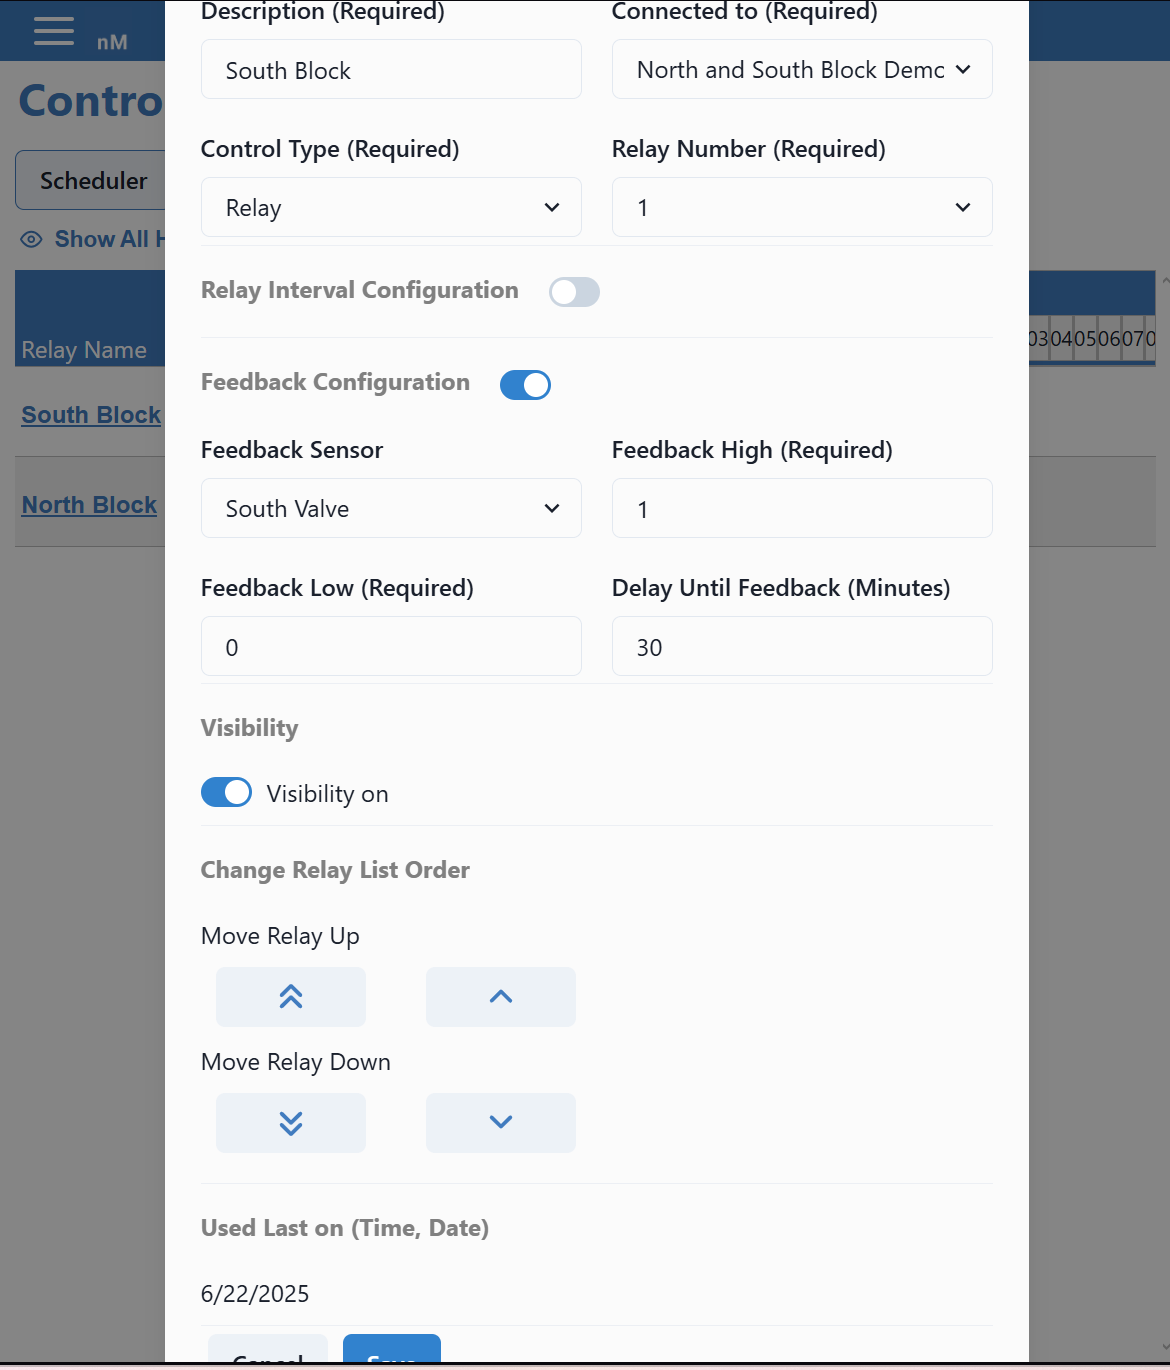
| Description | Description is the name of the relay. This should be where the relay is located or what the relay is being used for. |
| Connected To | This is the Device the relay is connected to. If you don't remember which device was connected, go to the configuration history of each device to see if it has a relay connected to it. This is shown in the Device Page Guide and Viewing Data on Graphs Guide. |
| Control Type |
For normal applications choose Relay. For special connections that require a serial number to activate and deactivate, choose Send Command. When selecting Send Command don't forget to input the proper ON and OFF commands for the device you are activating. |
| Relay Number |
To track a relay, you must do one switch on the relay at a time. Put in the number of the relay's switch in use This allows you to better organize which relay to turn on when but if you need to track 8 switches, it can take a bit to set up. |
| Relay Interval Configuration | Select this to set up an interval for your relay. This interval will be in minutes and will constantly work in the background. On Time is for how long the switch will be activated for and then Dwell time is how long it stays off for before turning On again. |
| Feedback Configuration |
This is a simple type of Automation. Choose a sensor. When the sensor reaches a value between the lowest and the highest, the Relay will turn on and the switch will activate. Then put a delay for how long you want the Relay to run before it checks the sensor's data again. Make sure your sensor is configured to check again within the allotted time otherwise the switch may stay on longer than necessary. |
| Visibility | This affects whether or not you see the relay when you enter the Control Page. |
Note: Instead of using Relay Interval Configurations and Feedback Configurations, try making Programs or Automations if there is needed complexity.
¶ Editing Relays
To edit a relay click on the name or description of the relay.
|
Note: Remember to press save in the bottom left corner, to the right of the cancel button, to save any changes made to the relay.